Deployment and Installation Center
Websense TRITON Enterprise v7.6.x
Deployment and Installation Center

|

|

|

|
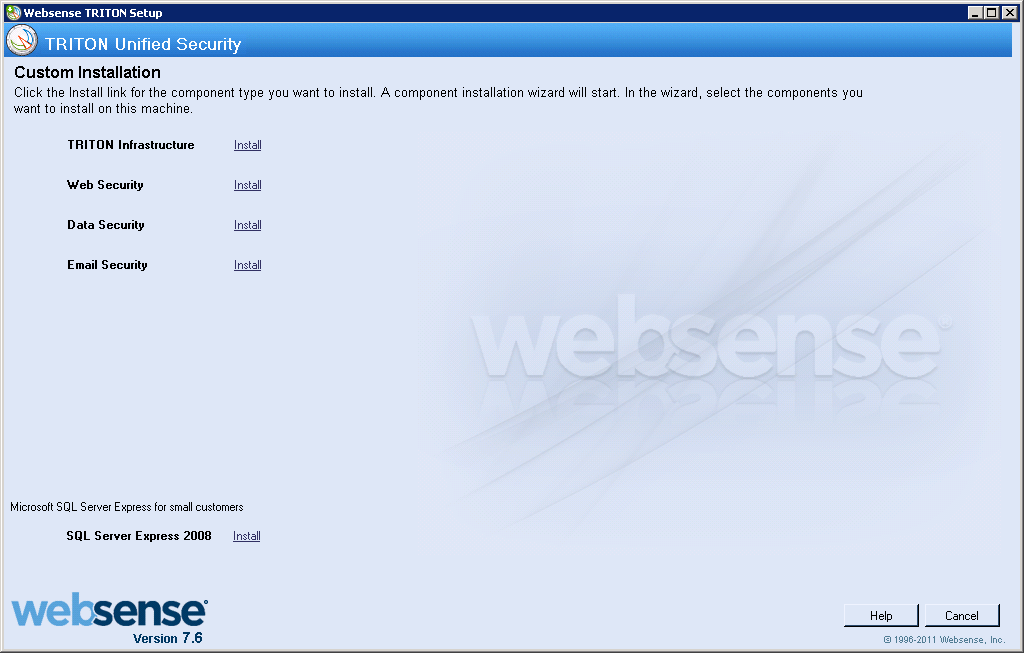
Custom Deployment > Installing Web Security components
|
Complete these steps to install Web security components on a machine. If you are installing components on multiple machines, run the Websense installer and complete these steps on each machine, selecting the particular components you want.To install Web Security components on a Linux machine, see Installing Web Security components on Linux.

|
|
|
|
|
Custom Deployment > Installing Web Security components
|