Getting Started Guide
Websense X10G Appliance v7.6.4
Getting Started Guide

|

|

|

|

|
Setting Up Websense X10G Security Blades > Configure the security blade > Web Security Gateway optimized for Network Agent (Slot 16)
|
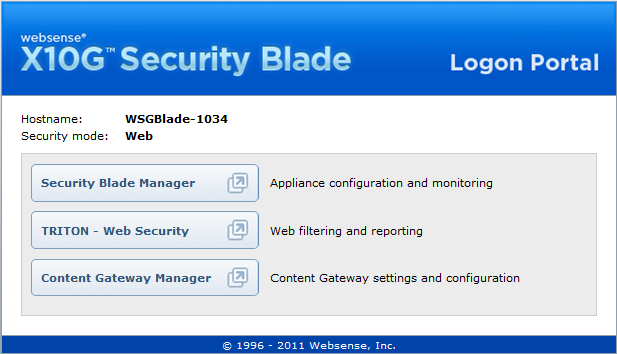
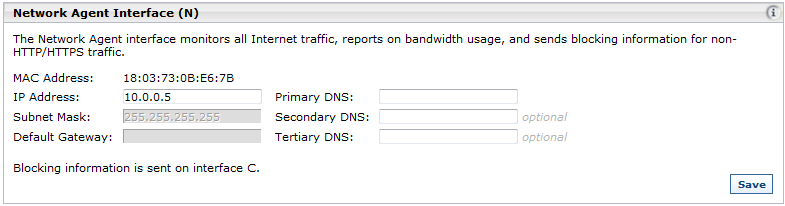
For the blade running Network Agent, after firstboot you will use the Security Blade Manager to configure interface N (Network Agent).

(management console for Web Security Gateway).See the Websense Technical Library for details.

|
|
|
|
|
|
Setting Up Websense X10G Security Blades > Configure the security blade > Web Security Gateway optimized for Network Agent (Slot 16)
|