
|

|

|

|
Setup and configuration > Installing the appliance on a virtual machine
|
|
|
With a Silicom bypass card connected to the ESXi host, and with one management NIC. For this scenario, use the OVA file starting Websense-i500v-dio-bp-InstallImage.
|
|
|
Without a Silicom card, just using 3 virtual switches. In this scenario, use the OVA file starting Websense-i500v-InstallImage.
|
|
|
|
Do not use the ESXi management physical interface for the B1 or B2 switch.
|
|
1.
|
In the VMware vSphere Client, select Hosts and Clusters.
|
|
2.
|
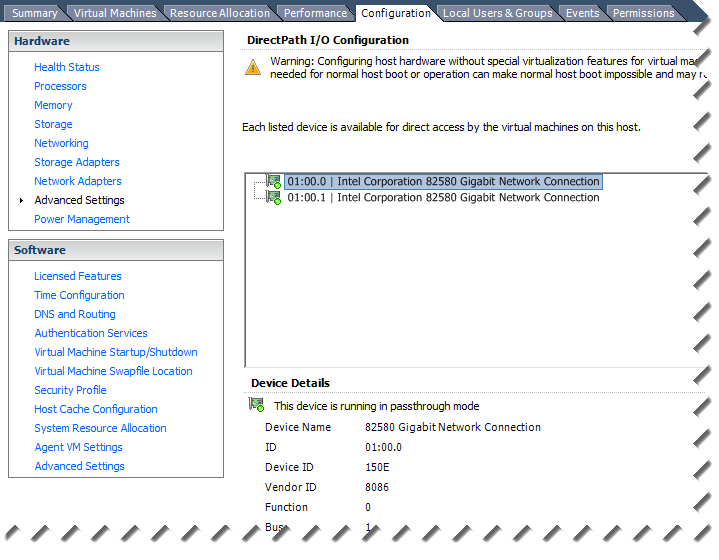
Select your host and click the Configuration tab.
|
|
3.
|
|
4.
|
|
5.
|
Select Create a vSphere standard switch.
|
|
6.
|
|
8.
|
Click Next.
|
|
9.
|
Review your settings and click Finish.
|
|
1.
|
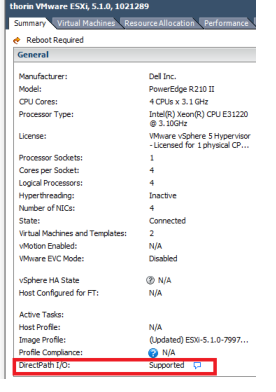
In the vSphere Client, go to the Configuration tab and select Advanced Settings in the Hardware section.
|
|
2.
|
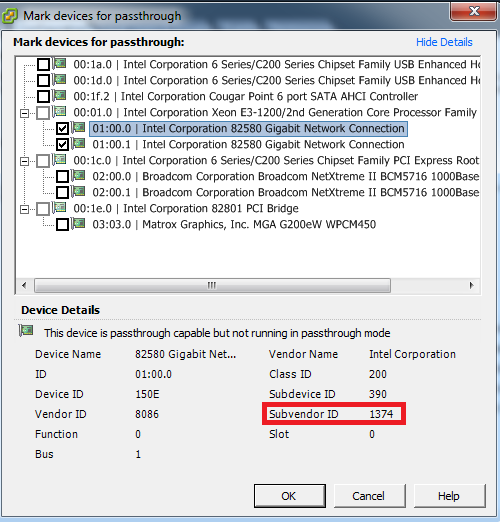
Click the Edit link.
|
|
4.
|
Click OK.
|
|
1.
|
|
2.
|
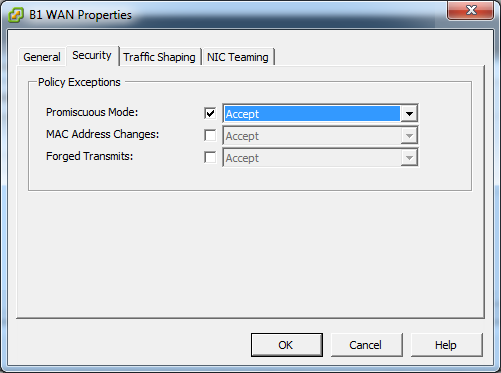
Click the Properties link for the B1 switch.
|
|
4.
|
On the Security tab, mark Promiscuous Mode, and select Accept from the drop-down list.
|
|
1.
|
In the vSphere Client, go to File > Deploy OVF Template.
|
|
2.
|
|
3.
|
|
4.
|
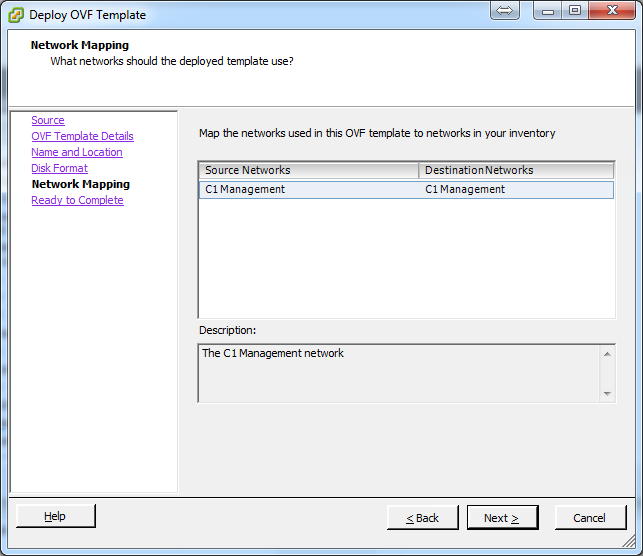
If you set up the network configuration on the ESXi host as described in Network settings, you should see the following screen:
|

|
5.
|
Click Next.
|
|
6.
|
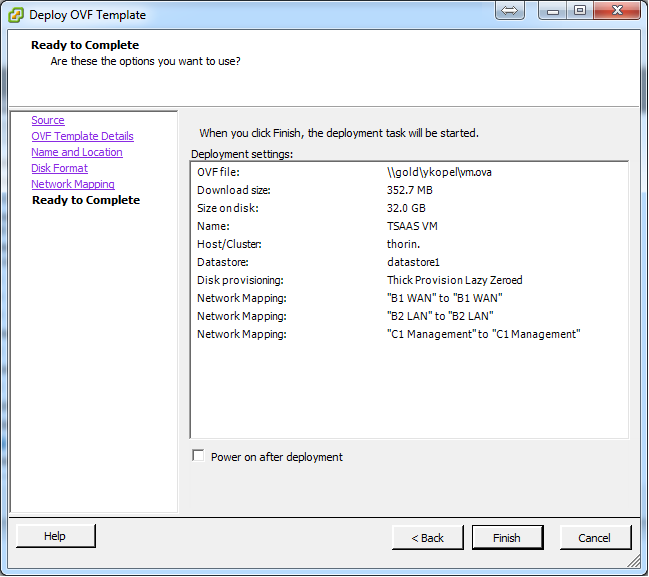
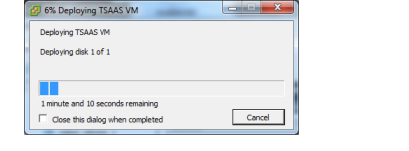
Click Finish, and wait for the installation to complete.
|
|
|
|
|
|
Setup and configuration > Installing the appliance on a virtual machine
|