
|

|

|

|
Installing Forcepoint Email Security in Microsoft Azure > Post-Deployment Steps: All Versions > Configure encrypted connection to SQL Server
|
|
1.
|
Follow the steps outlined in Deploy both Forcepoint Email Security and Forcepoint Security Manager together in the Azure cloud and configure the settings for your remote SQL Server.
|
|
3.
|
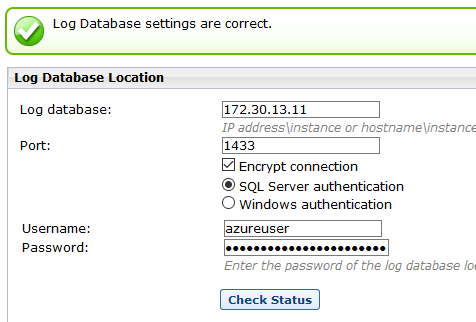
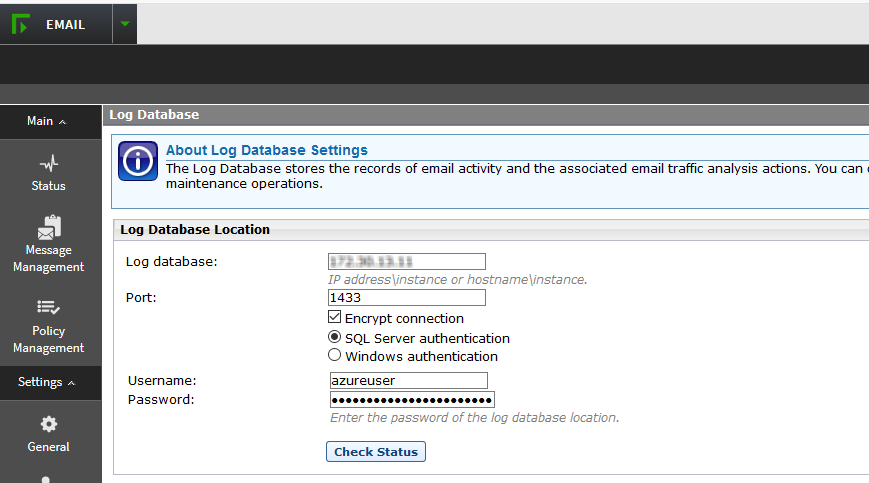
Navigate to Settings > Reporting > Log Database.
|
|
4.
|
In the section Log Database Location, enter the IP address of the remote SQL Server.
|
|
5.
|
Mark the check box Encrypt connection.
|
|
6.
|
|
8.
|
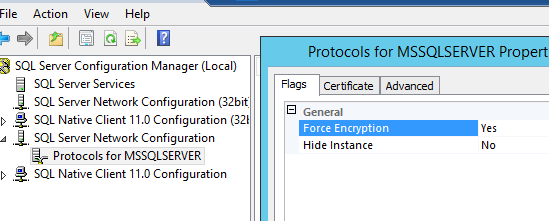
Open SQL Server Configuration Manager and navigate to SQL Server Network Configuration > Protocols for MSSQLSERVER > Properties.
|
|
10.
|
|
11.
|
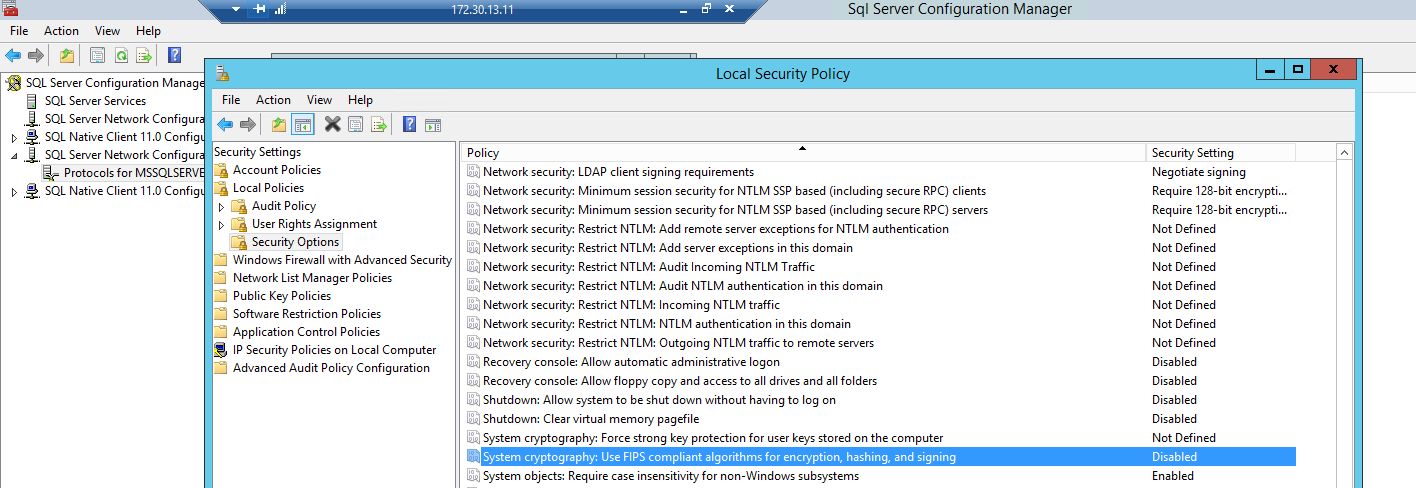
Navigate to Local Security Policy > Local Policies > Security Options > System cryptography: Use FIPS compliant algorithms for encryption, hashing, and signing.
|
|
12.
|
Change Properties to Enabled.
|
|
16.
|
Open a command prompt and run ipconfig. Make note of the current settings.
|
|
18.
|
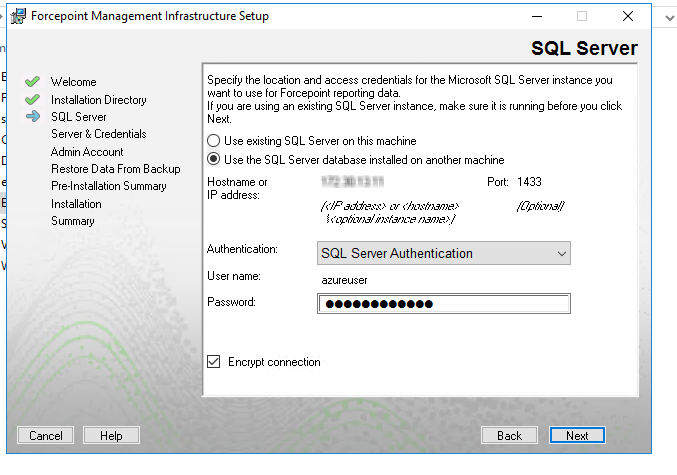
Start the Forcepoint Security Installer.
|
|
19.
|
On the Modify Installation dashboard, click Modify for Forcepoint Infrastructure.
|
|
20.
|
On the Welcome screen, click Modify.
|
|
21.
|
|
22.
|
|
23.
|
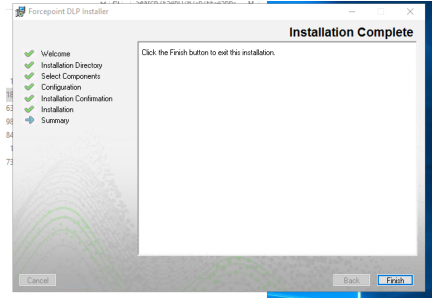
On the Modify Installation dashboard, click Modify for Forcepoint DLP.
|
|
26.
|
Log into Forcepoint Security Manager and navigate to Settings > Reporting > Log Database. Verify that the settings are correct.
|
|
|
|
|
|
Installing Forcepoint Email Security in Microsoft Azure > Post-Deployment Steps: All Versions > Configure encrypted connection to SQL Server
|
