
|

|

|

|
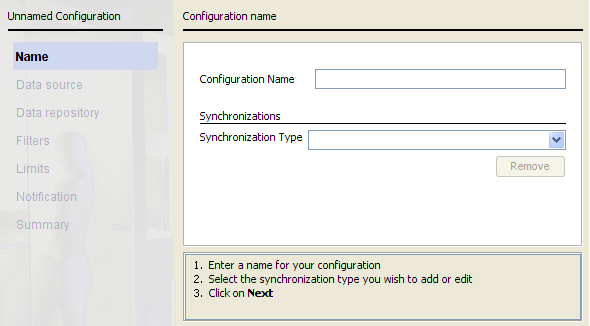
Creating and Modifying Configuration Profiles > Step 1: Starting your configuration
|
|
1.
|
Enter a unique Configuration Name for your profile, using alphanumeric characters.
|
|
To later modify an existing profile, select View > Configuration, then:
|
|
1.
|
If the Synchronization Type list appears, select a type.
|
|
|
If you are configuring Groups+Users, select Users first, then configure Groups afterward.
|
|
2.
|
Click Next to continue.
|
|
|
|
|
|
Creating and Modifying Configuration Profiles > Step 1: Starting your configuration
|