
|

|

|

|
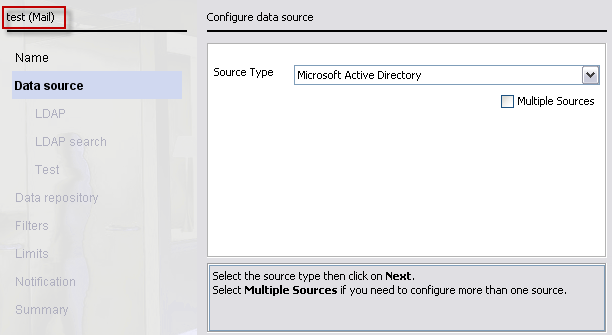
Creating and Modifying Configuration Profiles > Step 2: Selecting your data source
|
|
1.
|
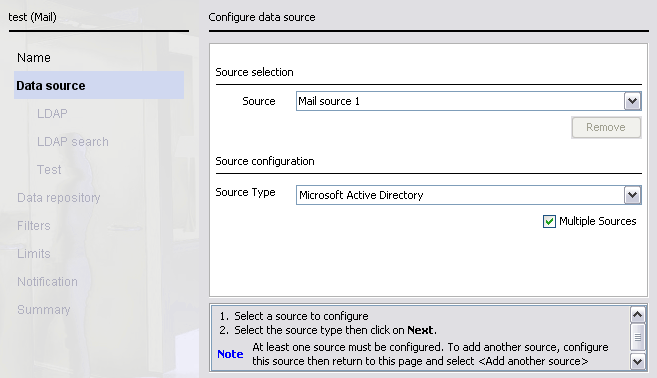
Mark the Multiple Sources check box.
|
|
2.
|
|
3.
|
Use the Source Type drop-down list to select a data source.
|
|
|
|
|
|
Creating and Modifying Configuration Profiles > Step 2: Selecting your data source
|