Deployment and Installation Center
Websense TRITON Enterprise v7.6.x
Deployment and Installation Center

|

|

|

|
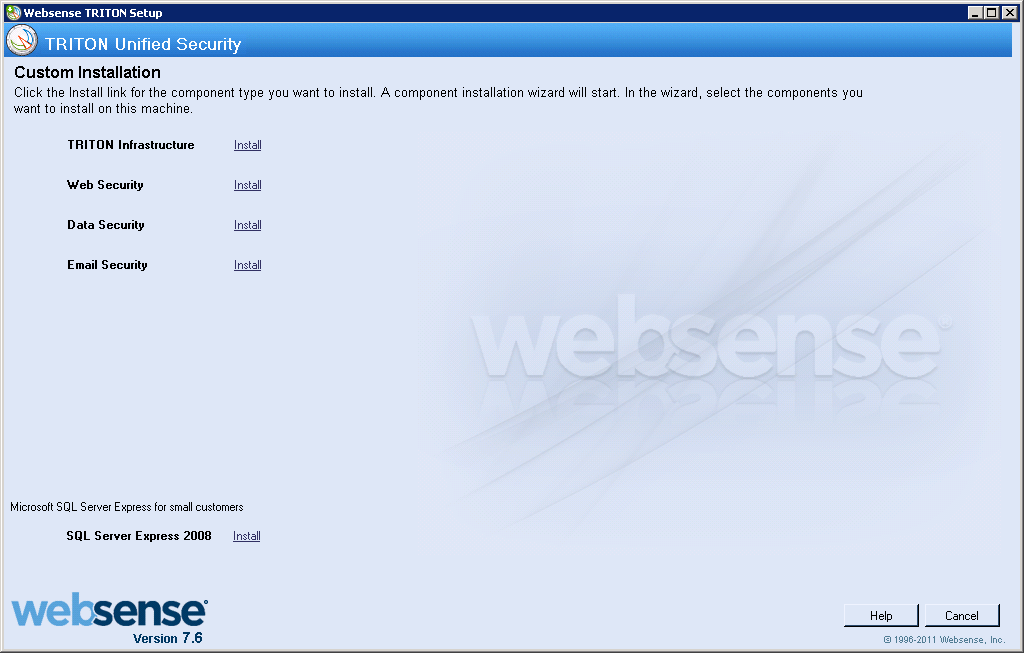
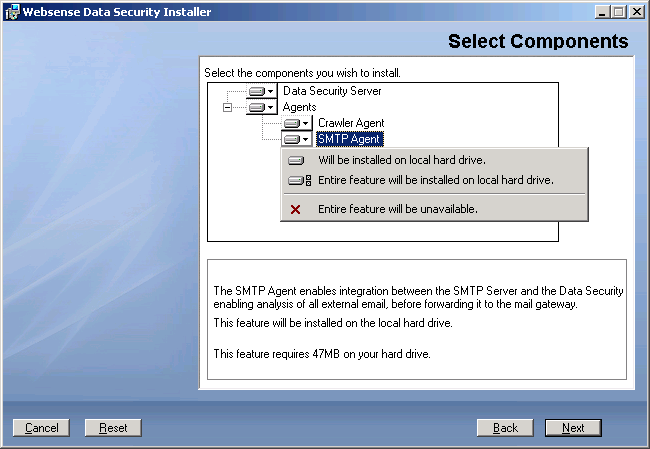
Custom Deployment > Installing Data Security Components
|


The installation has detected that your WinPcap version is <version>
In order to proceed with this installation, WinPcap version 4.0.0.1040 needs to be installed and will replace yours.
Click Yes to proceed or Click No to preserve your WinPcap version and deselect the Discovery Agent Feature to continue with the installation."Discovery Agent" refers to Crawler Agent. The particular version of WinPcap mentioned in this message must be in place to install Crawler Agent. Note that after installation of Crawler Agent you can install a different version of WinPcap. Crawler Agent should continue to work properly.
This parameter limits dynamically (according to the number of pages) the total time that the OCR can extract text from the printed job. In case of a timeout, the content analysis will be performed only on the extracted text that took place before the timeout.No more than nn seconds:
This number is a static overall limit to the total time that the OCR can extract text from the printed job. In case of a timeout, the content analysis will be performed only on the extracted text that took place before the timeout.
In order to proceed with this installation, DSS will free up this port.
Click Yes to proceed OR click No to preserve your settings.Clicking No cancels the installation.
|
|
|
|
|
Custom Deployment > Installing Data Security Components
|