
|

|

|

|
Data Loss Prevention in Forcepoint Web Security Cloud : Configure Data Security (DLP Lite) policy settings
|
|
1.
|
In the portal, navigate to Account > Data Protection Settings.
|
|
2.
|
|
3.
|
Navigate to the Web > Policy Management > Policies, page, then open the policy you want to configure.
|
|
4.
|
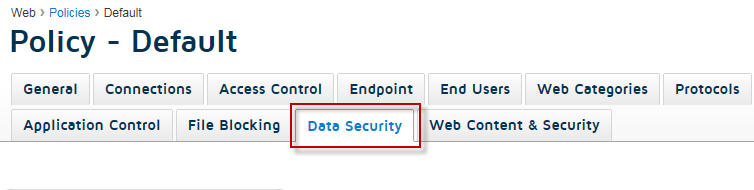
Click the Data Security tab in the policy.
|
|
6.
|
|
1.
|
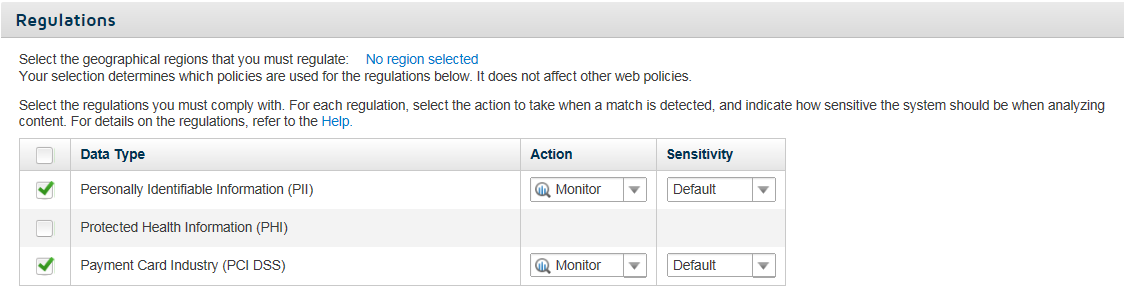
Click No region selected.
|
|
4.
|
Select an action to take when matching data is detected. Select Block to prevent the data from being sent through the web channel. Select Monitor to allow it. (Incidents are created either way.) You can filter by action in the Data Security Incident Manager.
|
|
2.
|
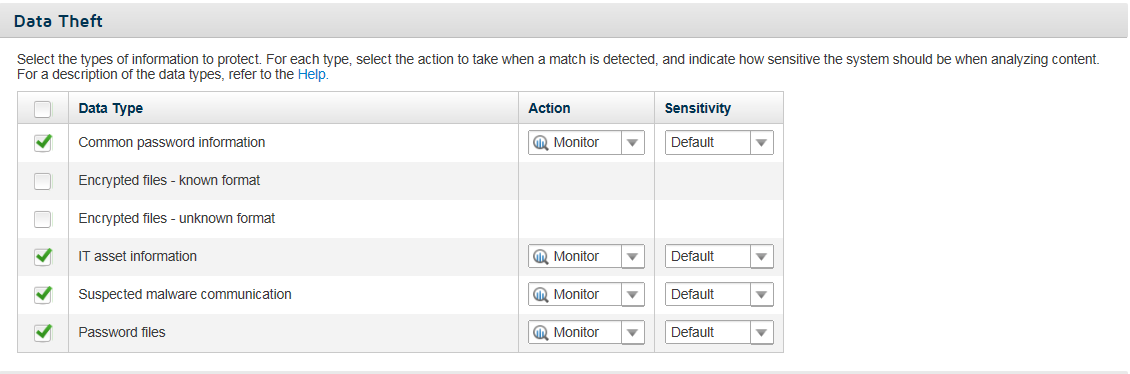
Select an action to take when matching data is detected. Select Block to prevent the data from being sent through the web channel. Select Monitor to allow it. (Incidents are created either way.) You can filter by action in the Data Security Incident Manager.
|
|
1.
|
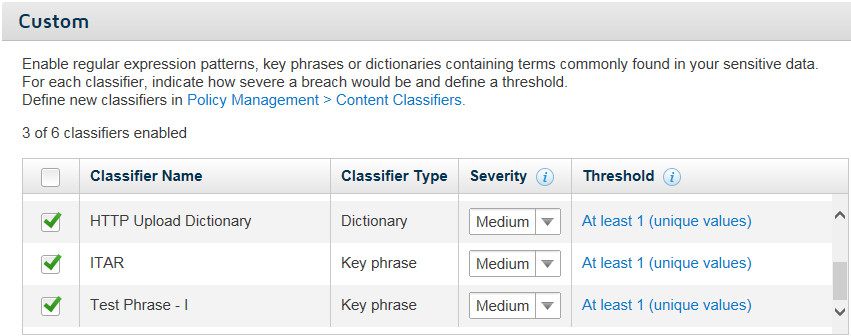
Select the classifiers that you want to enable for the policy. If you skipped the section Create content classifiers go there now to populate the list.
|
|
2.
|
Select a severity for each classifier to indicate how severe a breach would be. Select High for the most severe breaches. Severity is used for reporting purposes. It allows you to easily locate High, Medium, or Low severity breaches when viewing reports.
|
|
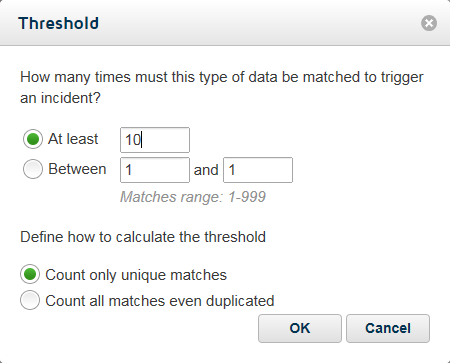
d.
|
Click OK.
|
|
|
|
|
|
Data Loss Prevention in Forcepoint Web Security Cloud : Configure Data Security (DLP Lite) policy settings
|