
|

|

|

|
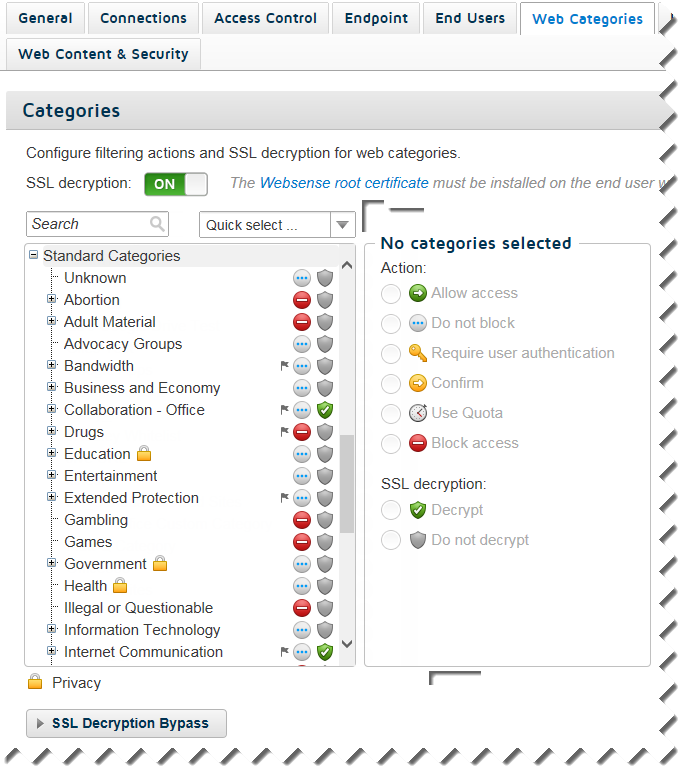
Working with Forcepoint Web Security Cloud > Assigning actions to web categories
|
|
|
Allow access: Ensures that websites within the category are always accessible.
|
|
|
Do not block: The website is not blocked as part of this category, but can be blocked if it exists in another category that has the Block access action assigned.
|
|
|
Require user authentication: Users must identify and authenticate themselves in order to access the site. This ensures that administrators can monitor who is accessing sites in the category.
|
|
|
Confirm: Users receive a block page that prompts them to confirm that the site is being accessed for business purposes. Users who click Continue can access the site.
|
|
|
Use Quota: Users receive a block page that asks them whether to use quota time to view the site. Users who click Use Quota Time can view the site for a predefined period.
|
|
|
Block access: Users cannot access the site unless it also exists in another category that has been assigned the Allow access action.
|
|
1.
|
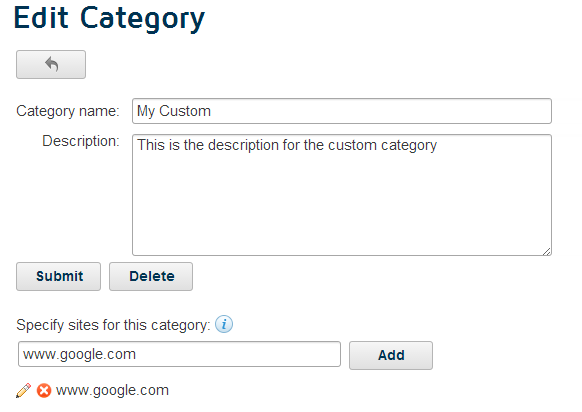
Go to the Web > Policy Management > Custom Categories page
|
|
2.
|
Click Add.
|
|
4.
|
Click Submit.
|
|
5.
|
In the Specify sites for this category field, type the address of a website (for example, www.google.com).
|
|
6.
|
Click Add.
|
|
8.
|
Click Submit.
|
|
|
|
|
|
Working with Forcepoint Web Security Cloud > Assigning actions to web categories
|