|

|

|

|
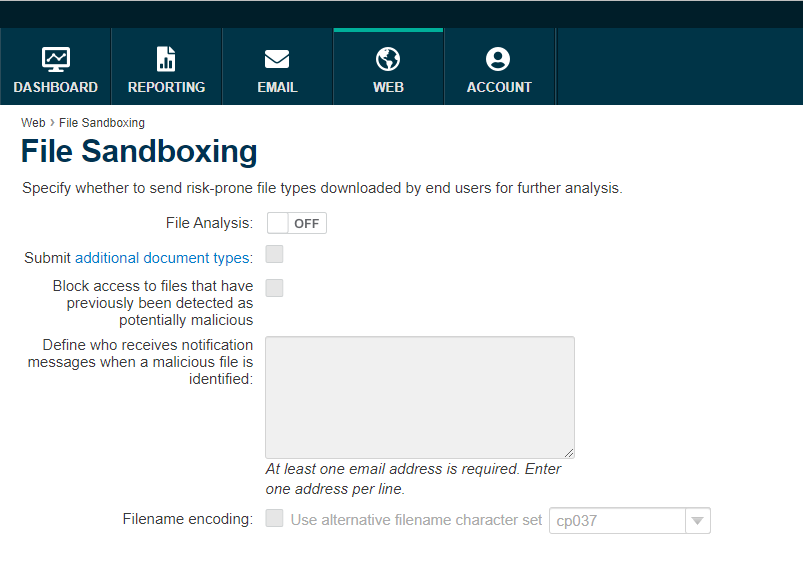
Configuring Web Settings > Configure File Sandboxing settings
|
|
You must have the Forcepoint Advanced Malware Detection for Web module to use this feature.
|
|
|
Is not classified as "malicious" in the Forcepoint URL Database
|
|
|
Passes all File Type Analysis checks
|
|
Because the file was not detected as malicious, it was not blocked and has been delivered to the requester.
|
|
1.
|
File analysis is disabled by default. Select On to send qualified executable files to the cloud-hosted sandbox for analysis.
|
|
2.
|
Select Submit additional document types to send additional supported file types to the sandbox for analysis.
|
|
3.
|
Select Block access to files that have previously been detected as potentially malicious to block requests made to files that were previously found to be malicious.
|
|
5.
|
Filename encoding can be used so that filenames display properly in Report Center reports. Enable Filename encoding and select the appropriate character set from the drop-down provided.
|
|
6.
|
|
|
|
|
|
Configuring Web Settings > Configure File Sandboxing settings
|