|

|

|

|
Getting Started with TRITON Mobile Security > Step 7: Register mobile devices with the system
|
|
1.
|
|
2.
|
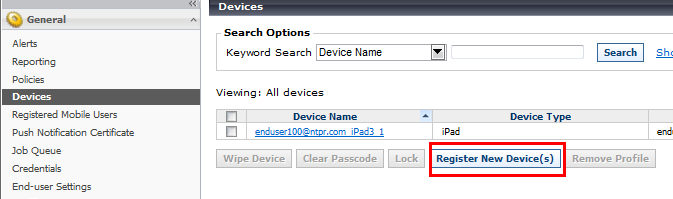
Click Register New Device (s).
|
|
3.
|
|
5.
|
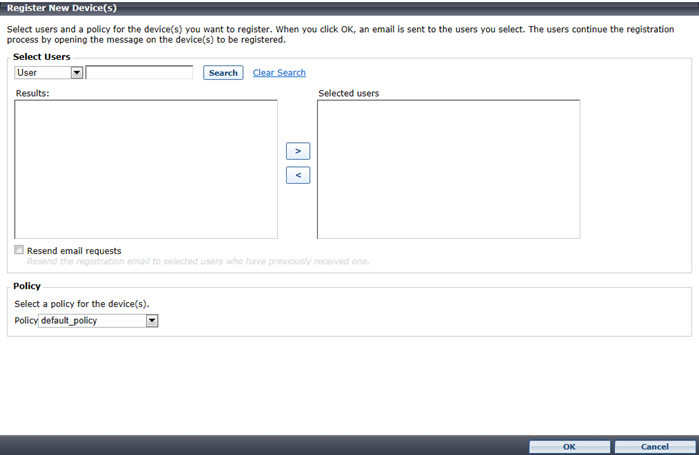
Click the right arrow (>) to move the selected end users into the right pane.
|
|
6.
|
If you want to resend the email to selected users who have previously been sent a device registration request, select the Resend email requests check box.
|
|
7.
|
Select a policy to apply to the device when it is enrolled. (If you do not select a policy here, the default policy is applied to the user or group). Click OK to send a device registration request email message to the selected users.
|
|
1.
|
|
2.
|
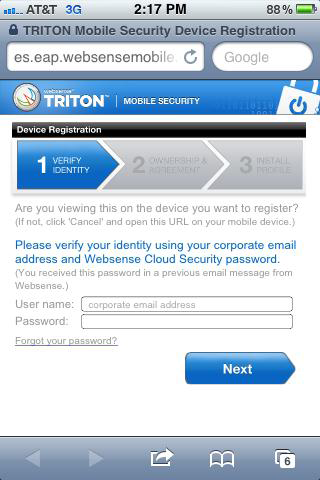
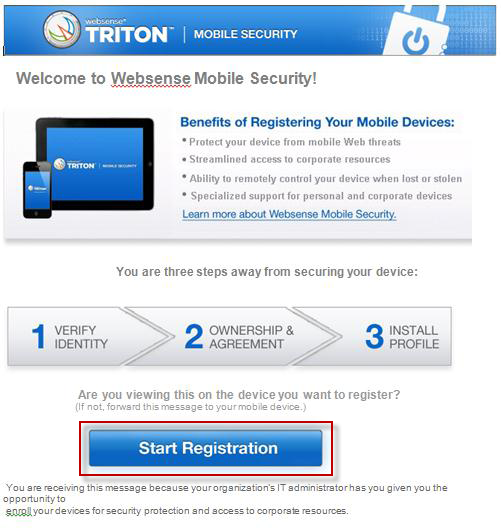
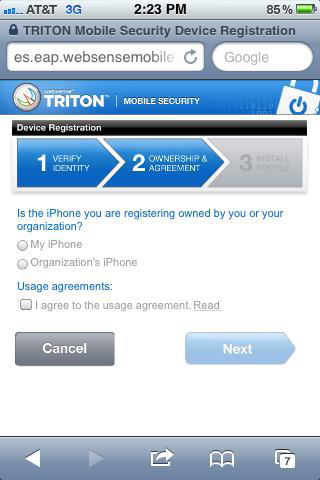
Click Start Registration.
|
|
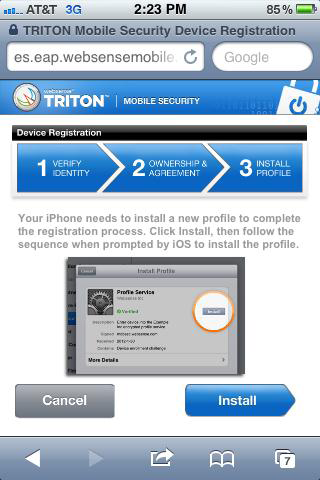
5.
|
Click Install.
|
|
|
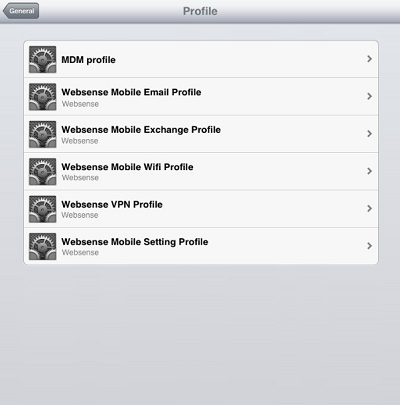
Websense Mobile Email Profile – If enabled, contains information for defining email accounts to install on the device.
|
|
|
Websense Mobile Exchange Profile – If enabled, contains information for defining Microsoft Exchange ActiveSync accounts to install on the device.
|
|
|
Websense Mobile Wifi Profile – If enabled, contains information that allows user devices to automatically connect to your wireless networks.
|
|
|
Websense VPN Profile – If enabled, contains information and certificates required to establish a VPN connection to the cloud service server.
|
|
|
Websense Mobile Setting Profile – Contains mobile device manager policies that secure the mobile device.
|
|
|
|
|
|
Getting Started with TRITON Mobile Security > Step 7: Register mobile devices with the system
|