
|

|

|

|
Getting Started with TRITON Mobile Security > Step 5: Generate an Apple Push Notification certificate
|
|
1.
|
In the Mobile tab, select General > Push Notification Certificate.
|
|
2.
|
Click Create and Upload Certificate. This process consists of three main steps.
|
|
b.
|
Click Create Signed Certificate.
|
|
c.
|
When the certificate is available, a link appears next to the Create Signed Certificate button, "The signed certificate is available for download."
|
|
4.
|
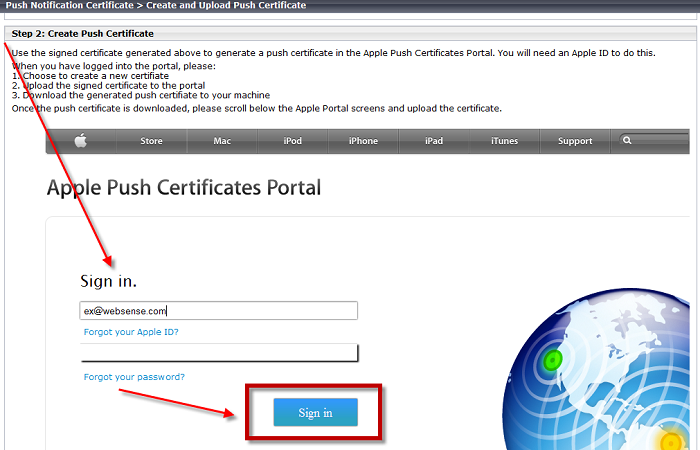
In the Step 2: Create Push Certificate box, sign onto the Apple Push Certificates Portal where you create a push certificate using the signed certificate that you just generated.
|
|
a.
|
|
c.
|
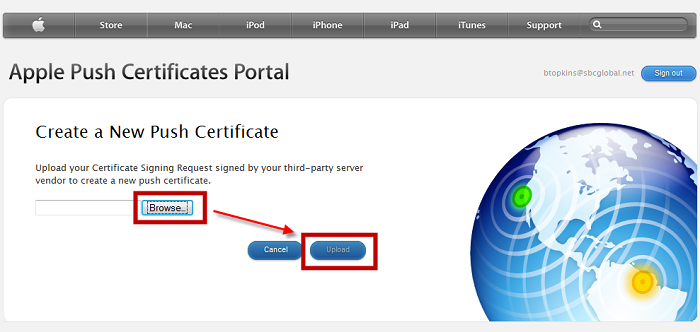
Select Create a Certificate.
|

|
d.
|
Click Browse and select the file you downloaded in step 3e. Do not change the filename extension.
|
|
e.
|
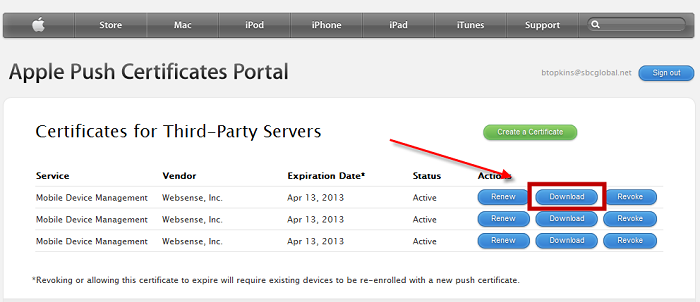
Click Upload. The certificate is now listed in the Certificates for Third-Party Servers list.
|
|
f.
|
Click Download next to the certificate you just created.
|
|
a.
|
Click Upload Certificate.
|
|
|
|
|
|
Getting Started with TRITON Mobile Security > Step 5: Generate an Apple Push Notification certificate
|