
|

|

|
Integrating Data Security with Existing Infrastructure > Working with shared drives > Performing discovery on Windows NFS shares
|
|
1.
|
|
3.
|
After installation has completed, select Start > Programs > Windows Services for UNIX > Services for UNIX Administration.
|
|
4.
|
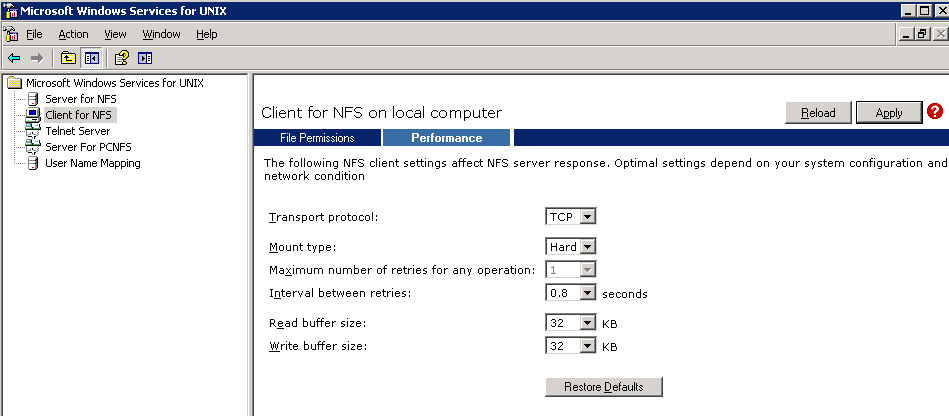
Navigate to Client for NFS and set the file permissions to All, Read, Write and Execute.
|
|
7.
|
Click Apply when done.
|
|
8.
|
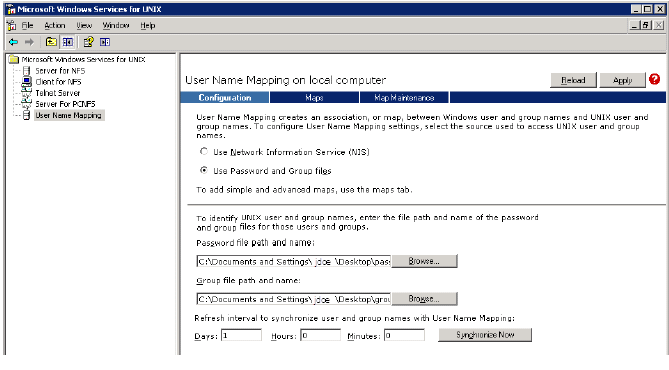
Navigate to User Name Mapping.
|
|
10.
|
|
11.
|
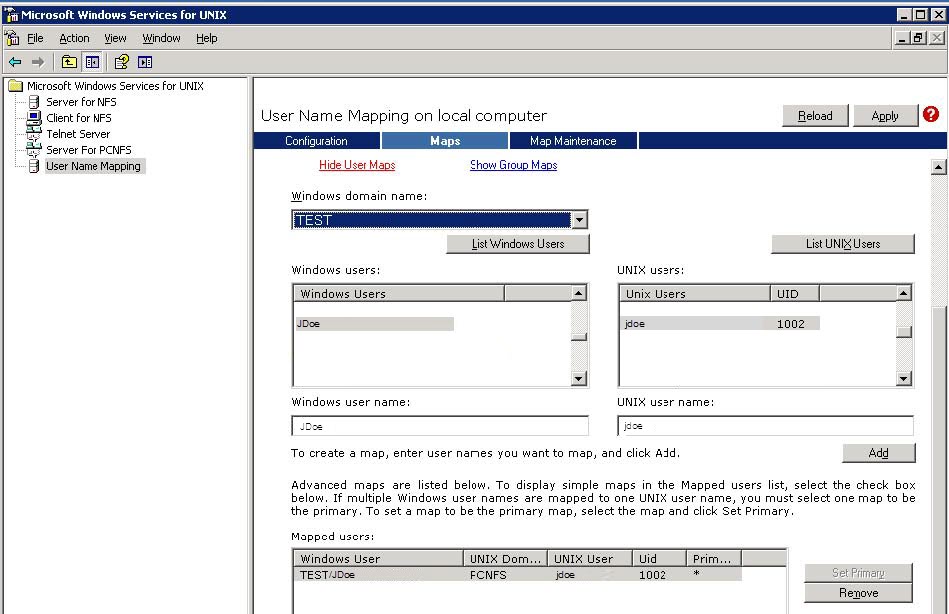
Click List UNIX Users and specify an account that has access to the NFS share.
|
|
12.
|
Select a user name from each list box, then click Add to map the names.
|
|
14.
|
Create a data discovery policy in TRITON - Data Security. (See the section "Creating a data discovery policy" in TRITON - Data Security Help for instructions.)
|
|
15.
|
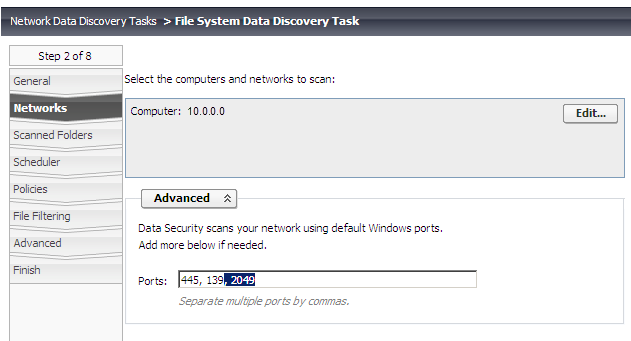
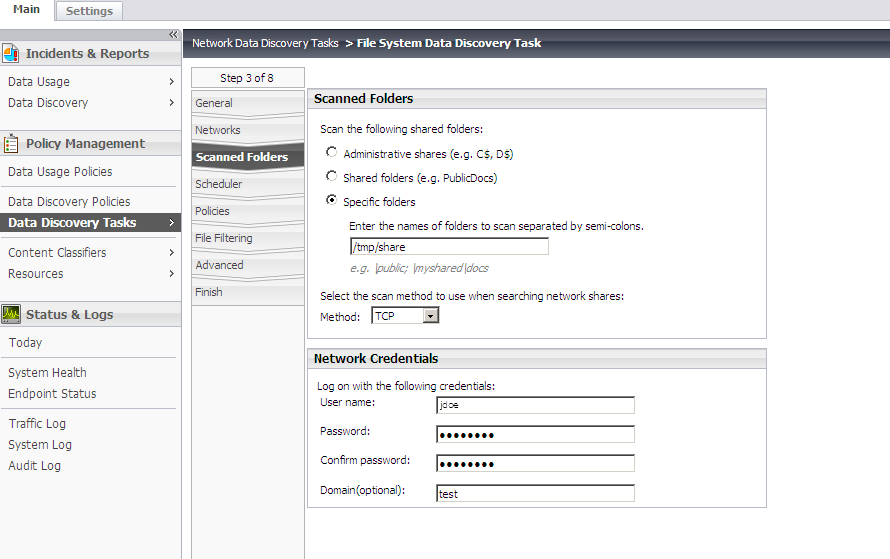
Create a file system task. Select Main > Policy Management > Discovery Policies, and then select Add Network Task > File System Task.
|
|
17.
|
On the Networks screen, click Advanced and add port 2049 to the existing list of scanned ports.
|
|
|||||||
|
|||||||
|
|
|
|
Integrating Data Security with Existing Infrastructure > Working with shared drives > Performing discovery on Windows NFS shares
|