
|

|

|
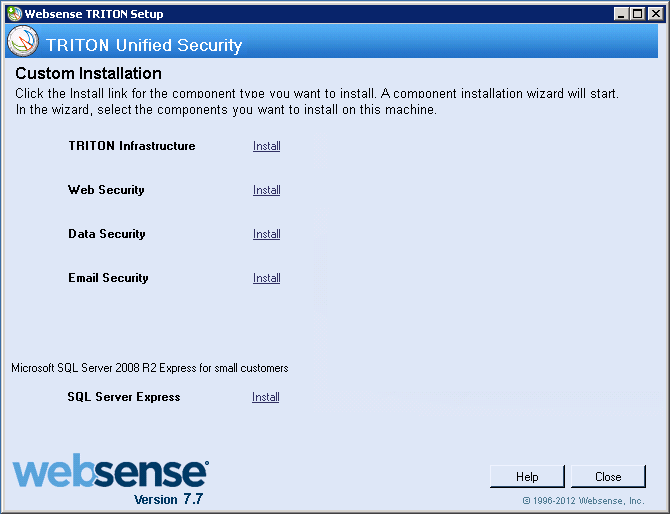
Installing components via the Custom option > Installing Email Security components
|
|
1.
|
|
2.
|
|
4.
|
|
5.
|
|
6.
|
In the Select Components screen specify whether you want to install Email Security Log Server.
|
|
7.
|
If TRITON Infrastructure is not found already installed on this machine, the Email Security Database screen appears. Specify the location of a database engine and how you want to connect to it.
|
|
|
Log Database IP: Enter the IP address of the database engine machine. If you want to use a named database instance, enter it the form <IP address>\<instance name>. Note that the instance must already exist. See your SQL Server documentation for instructions on creating instances.
|
|
|
Database login type: Select how Email Security Log Server should connect to the database engine.
|
|
|
Trusted connection: connect using a Windows trusted connection.
|
|
|
Database account: connect using a SQL Server account.
|
|
|
|
8.
|
On the Email Security Database File Location screen, specify where Email Security database files should be located and then click Next.
|
|
If any Email Security log data has been written to the database it will be lost if you remove the database. If you want to keep this data, back up the esglogdb76 and esglogdb76_n databases. See your SQL Server documentation for backup instructions.
|
|
9.
|
On the Installation Folder screen, specify the location to which you want to install Email Security Log Server and then click Next.
|
|
10.
|
On the Pre-Installation Summary screen, review the components to be installed. If they are correct, click Install.
|
|
11.
|
The Installing Websense Email Security screen appears, as components are being installed.
|
|
12.
|
|
|
|
|
Installing components via the Custom option > Installing Email Security components
|