Go to the table of contents Go to the previous page Go to the next page View or print as PDF
Synchronizing with the Cloud Service > Scheduling the synchronization process
Scheduling the synchronization process
Once you have run the initial synchronization, you should set up a scheduled service to run automatic updates in the background.
Make sure Windows Task Scheduler is running
To schedule synchronization updates from the Directory Synchronization Client, first ensure that the Windows Task Scheduler service is started. To check this:
1.
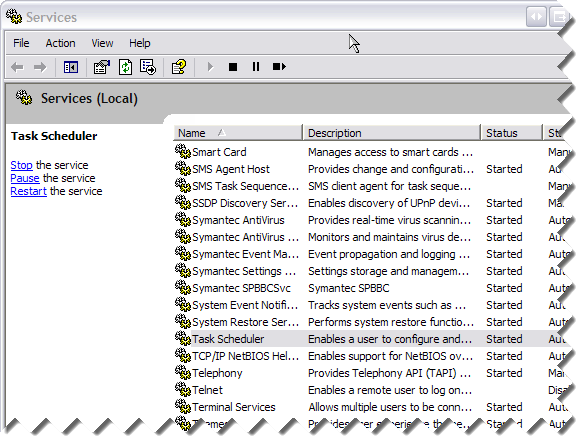
Select Start > Administrative Tools > Services.
2.
If the status is Started, you need do nothing. Otherwise, do one of the following:
*
*
Create the synchronization schedule
To create a synchronization schedule in the Directory Synchronization Client:
1.
In the Configuration window, click Summary, then click Schedule.
2.
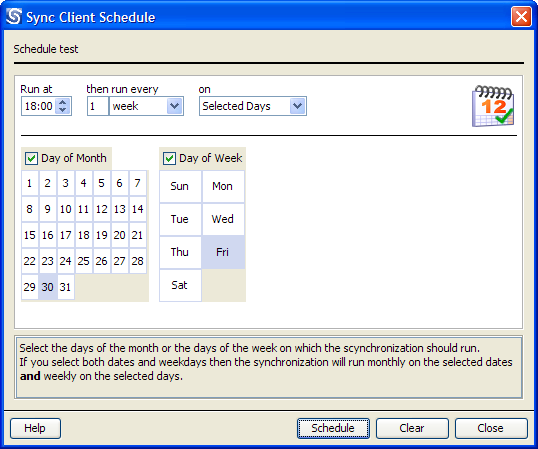
In the Run at field, enter the time you want the process to run.
3.
4.
5.
*
Mark Day of Month, then click the dates on which to run the process.
*
Mark Day of Week, then click the days on which to run the process.
*
6.
Click Schedule. The calendar icon changes from gray to color to show that the synchronization is scheduled.
 
Note 
Removing the synchronization schedule
You can edit your synchronization schedule at any time in the Directory Synchronization Client. To cancel the schedule, use the Windows Control Panel.
1.
Select Start > Control Panel > Scheduled Tasks.
2.
Right-click the task "Sync Client-example", where example is the name of your configuration profile, then select Delete.
3.
Click Yes to confirm.

Go to the table of contents Go to the previous page Go to the next page View or print as PDF
Synchronizing with the Cloud Service > Scheduling the synchronization process
Copyright 2022 Forcepoint LLC. All rights reserved.