
|

|

|
Installing Data Security Components > Mobile agent
|
|
b.
|
The mobile agent software is provided on an ISO image. Download the image, WebsenseDataSecurityProtector77x.iso, from MyWebsense and burn it to a CD.
|
|
d.
|
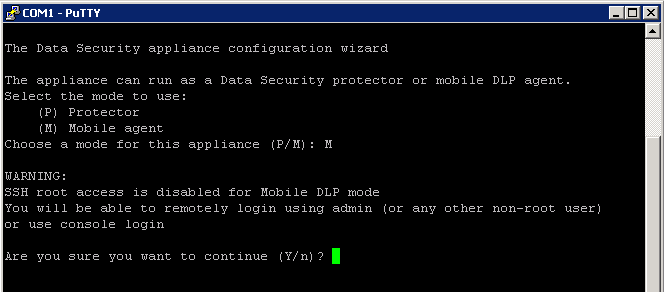
An installer page appears. If you are using a regular keyboard and screen, type kvm and press Enter. If you are using a serial console, press Enter. The machine is automatically restarted.
|
|
2.
|

|
4.
|
|
2.
|

|
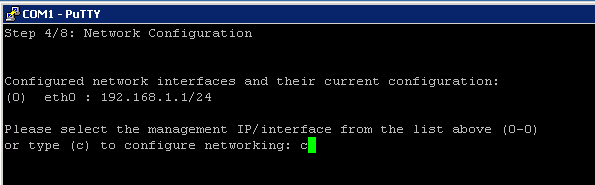
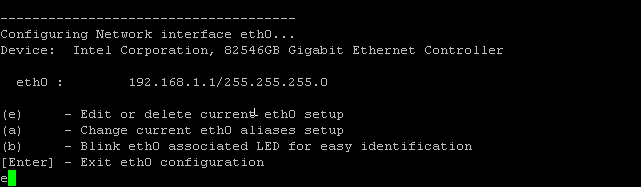
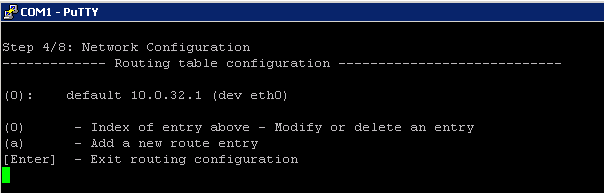
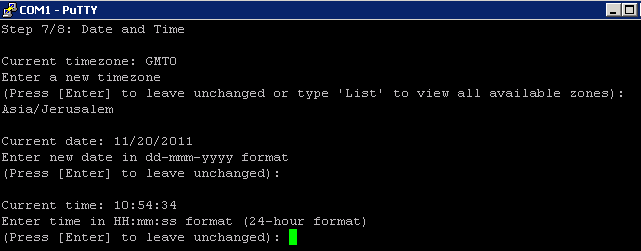
If you type Enter, a list of available NICs display, allowing you to define other NICs.
|

|

|
5.
|
|
|
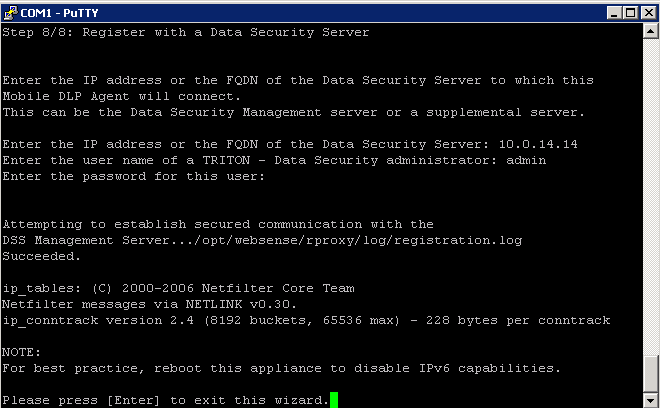
8.
|
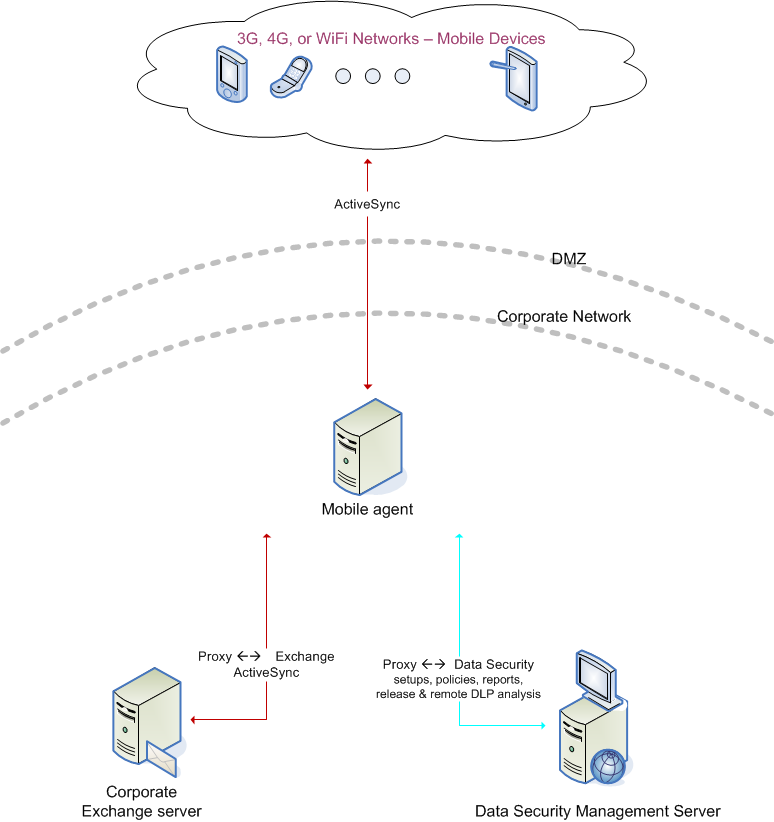
Navigate to Main > Resources > Notifications and select the mobile policy violation template. Add sender details, then use the Outgoing mail server field to define a next hop relay for outbound mail. If you do not, the mobile agent may not send block notifications.
|
|
|
|
|
Installing Data Security Components > Mobile agent
|