Deployment and Installation Center
Websense TRITON Enterprise v7.6.x
Deployment and Installation Center

|

|

|

|
Configuring Check Point Products to Work with Web Filter or Web Security
|
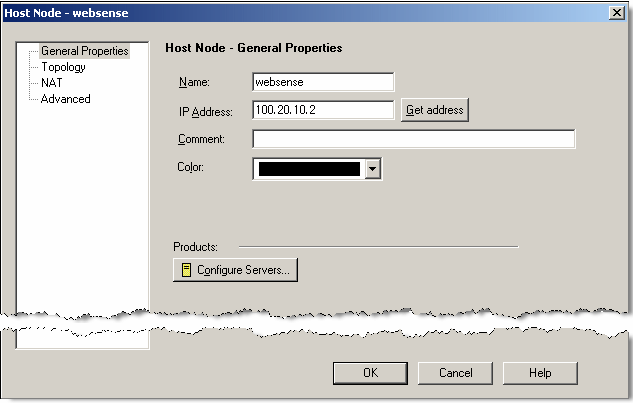
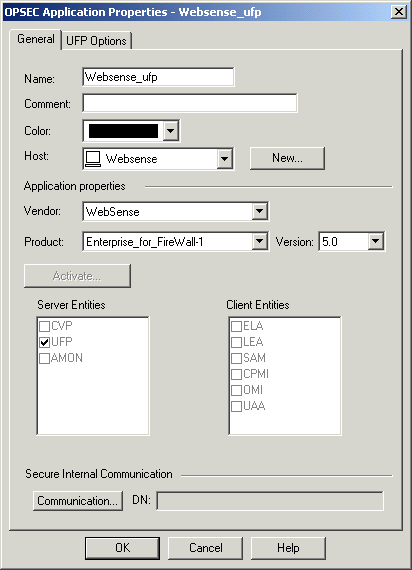
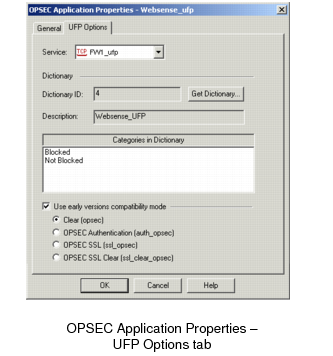
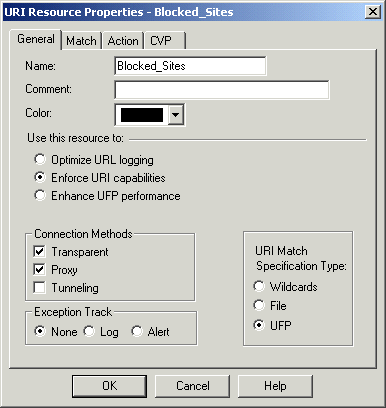
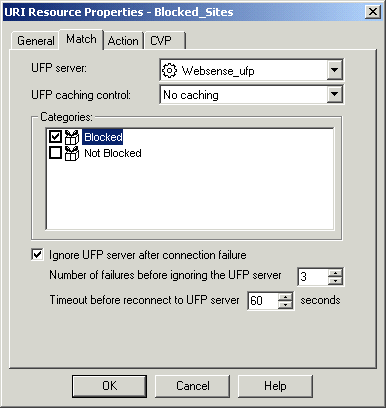
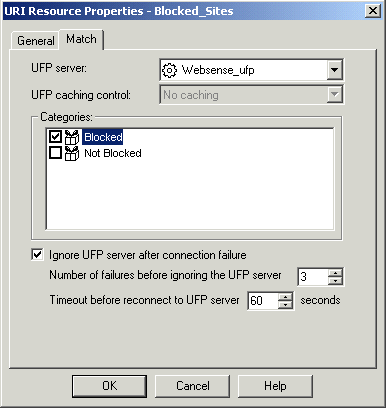
Configuring Check Point Products to Work with Web Filter or Web SecurityIn addition to defining Websense filtering policies and assigning them to the appropriate clients, you must set up the Check Point product with the necessary objects and rules. In describing these objects and rules, this chapter assumes that you are familiar with general Check Point product concepts.The following tasks must be completed before you begin to configure the Check Point product to communicate with Websense software:


|
|
|
|
|
Configuring Check Point Products to Work with Web Filter or Web Security
|