Deployment and Installation Center
Websense TRITON Enterprise v7.6.x
Deployment and Installation Center

|

|

|

|
Installing and Deploying Websense Endpoint Clients > Deploying Websense endpoints
|
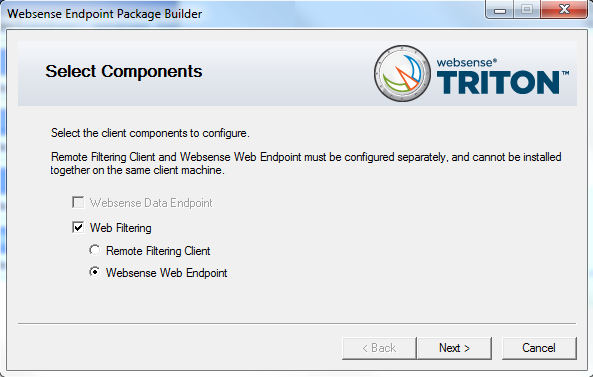
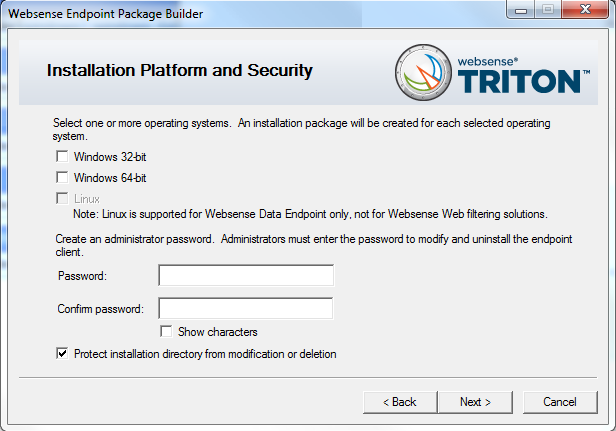
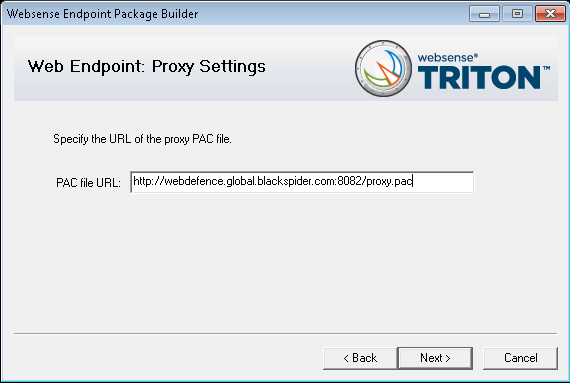
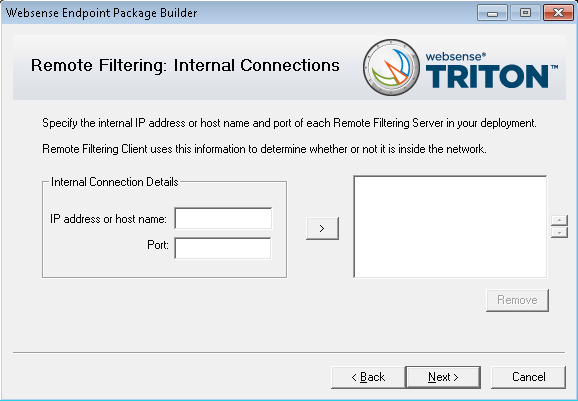
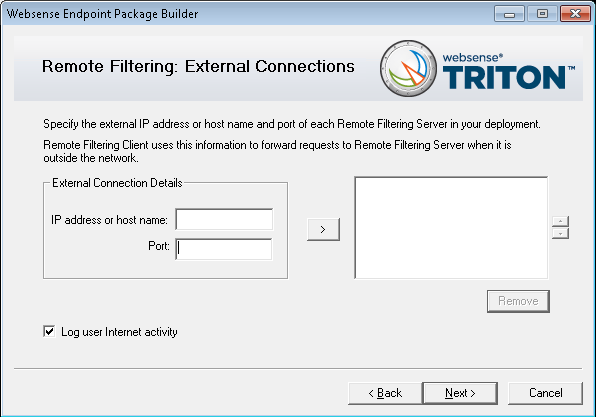
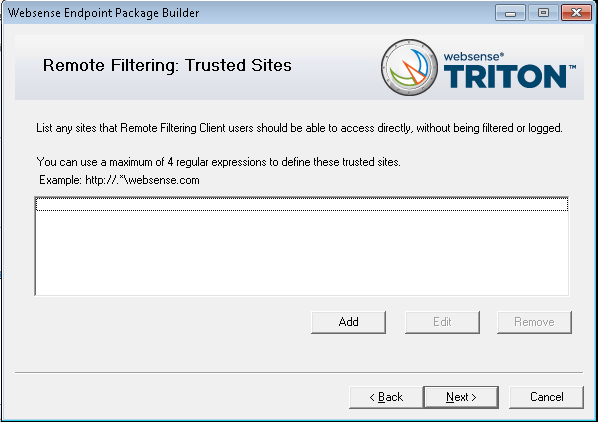
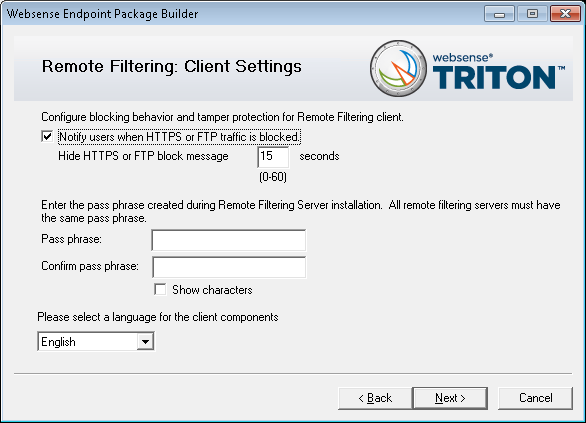
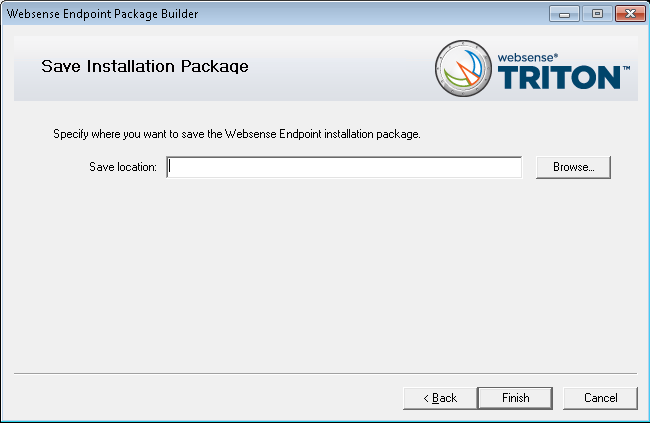
Endpoint software is configured and packaged before it is distributed to endpoint devices (client machines).If you have both Web and data security solutions, packages are customized according to your needs and created using the Websense Endpoint Package Builder. The package builder can create 32- and 64-bit Windows packages for all 3 types of Websense endpoints, as well as Linux packages for Data Endpoint.The package builder can be found in the directory where you install Websense Data Security: C:\Program Files\Websense\Data Security\client\WebsenseEndpointPackageBuilder.exe by default.If you do not subscribe to Data Security, you do not need to use the package builder to deploy the Web filtering endpoints. Rather:


Endpoints that are installed in Full Mode require a reboot.
) appears on the endpoint machine's task bar. Click the icon for status information. (No icon shows in stealth mode.)
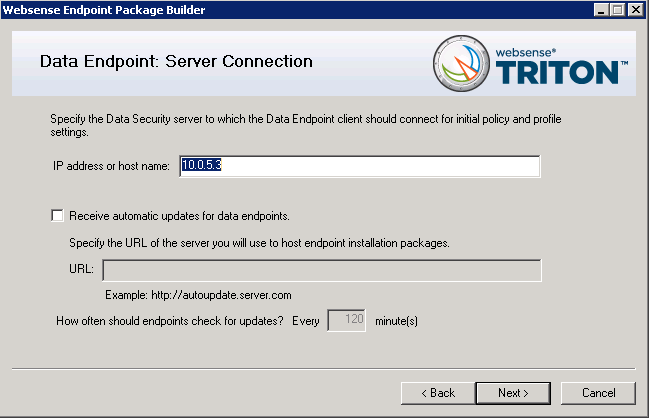
For information on endpoint software system requirements, see Endpoint solution system requirements.If you plan to deploy multiple endpoint solutions (data and Web) on the same machine, see Multiple agent limitations before proceeding.Once you have deployed your endpoint package to end users, Web Endpoint can be updated for some or all of your hybrid filtering users directly from the hybrid service. If you use the Data Endpoint auto-update feature for endpoints with both data and Web capabilities, however, endpoints receive updates from your auto-update server instead.
|
|
|
|
|
Installing and Deploying Websense Endpoint Clients > Deploying Websense endpoints
|