Deployment and Installation Center
Websense TRITON Enterprise v7.6.x
Deployment and Installation Center

|

|

|

|
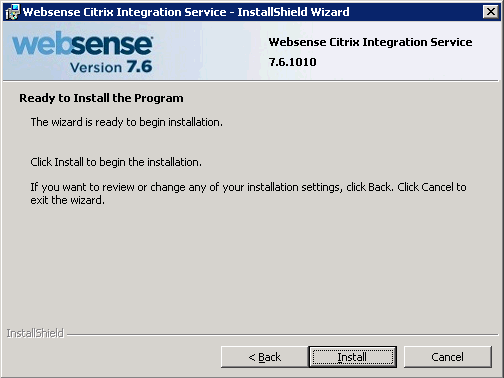
Citrix Integration > Installing the Citrix Integration Service
|
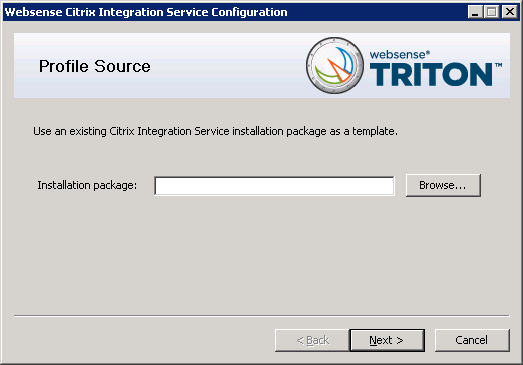
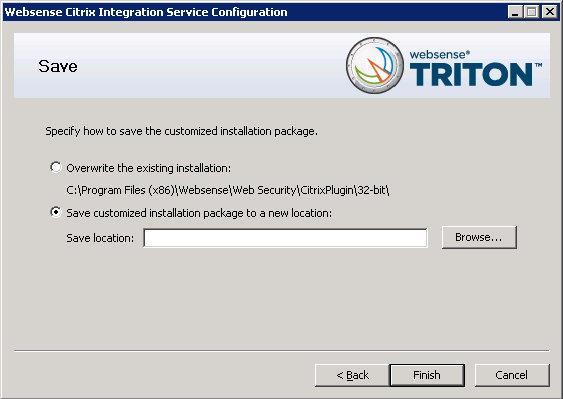
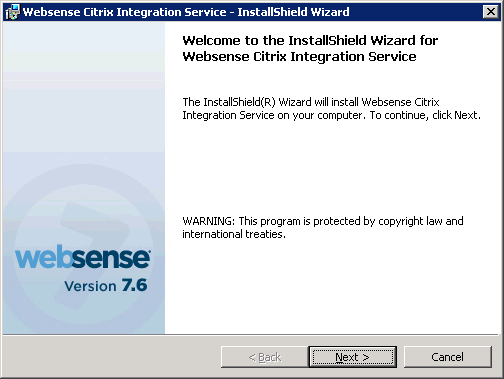
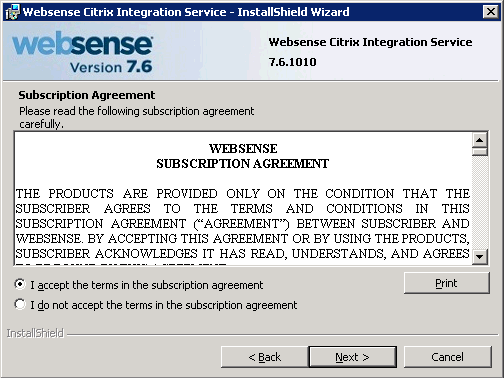
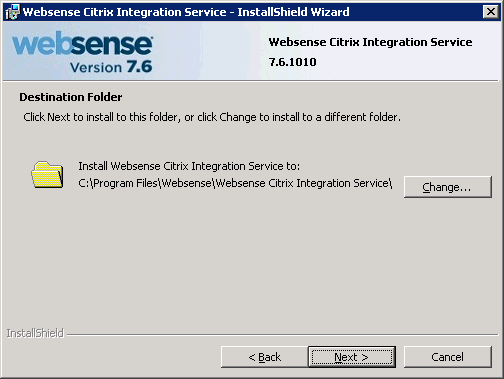
Most Websense components must be installed on a separate machine from the Citrix server. Only the Citrix Integration Service is installed on each Citrix server machine.If you have a v7.5.x or earlier version of the Citrix Integration Service installed, you must remove it completely before deploying the version 7.6.x service. See Upgrading Citrix Integration Service to 7.6.


|
|
|
|
|
Citrix Integration > Installing the Citrix Integration Service
|