Deployment and Installation Center
Websense TRITON Enterprise v7.6.x
Deployment and Installation Center

|

|

|

|
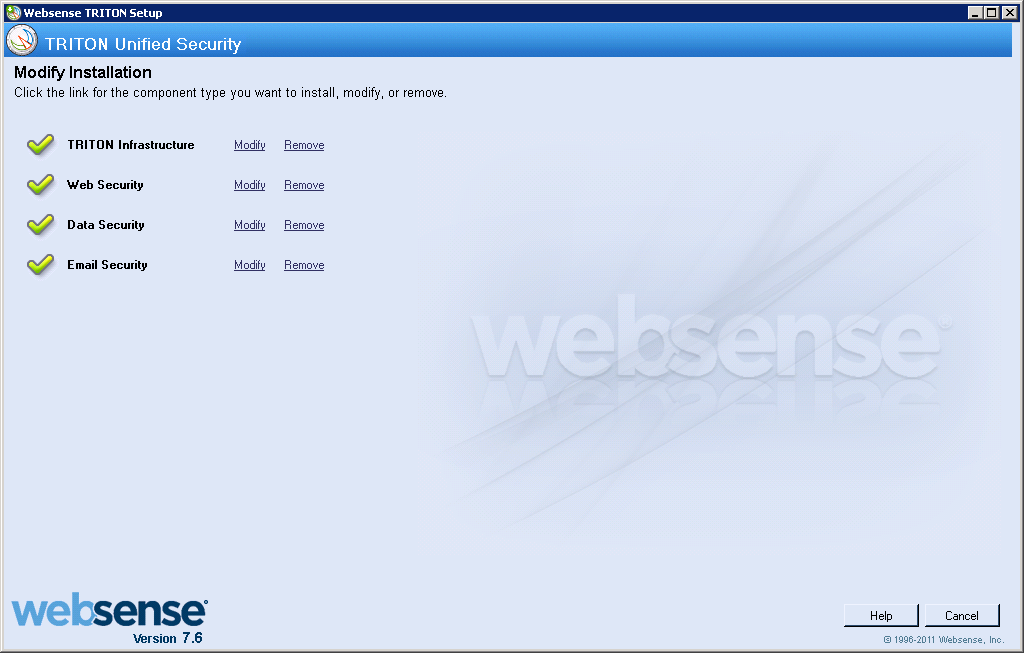
Adding or Modifying Components > Adding Email Security components
|
Only two Email Security Gateway components may be added on a machine: TRITON - Email Security and Email Security Log Server. All other Email Security Gateway components run on a Websense appliance and are managed through the Appliance Manager.

If you chose to install SQL Server Express as part of the installation of the TRITON Unified Security Center, the log database IP address should be that of the TRITON Unified Security Center machine.

|
|
|
|
|
Adding or Modifying Components > Adding Email Security components
|